
BTW: I much prefer using a soap bar than liquid shower gels on myself & on my older kids. It's cheaper, lasts longer & the kids can't pour half a bottle of liquid soap down the drain each time they take their showers.
So here's my tutorial on how to make this Soap Bar Scrubber Pouch:
You will need:
Sewing machine w/ coordinating thread
Scissors
Scrap ribbon, about 6 inches long
Long scrub towel (I used the Salux brand cloth, found in most Asian stores, Filipino friends,
you know it well.)


I took the long towel, folded it into thirds, and cut along the fold lines. You will get three equal parts.
 |
| All photos can be clicked on to see a larger view. |
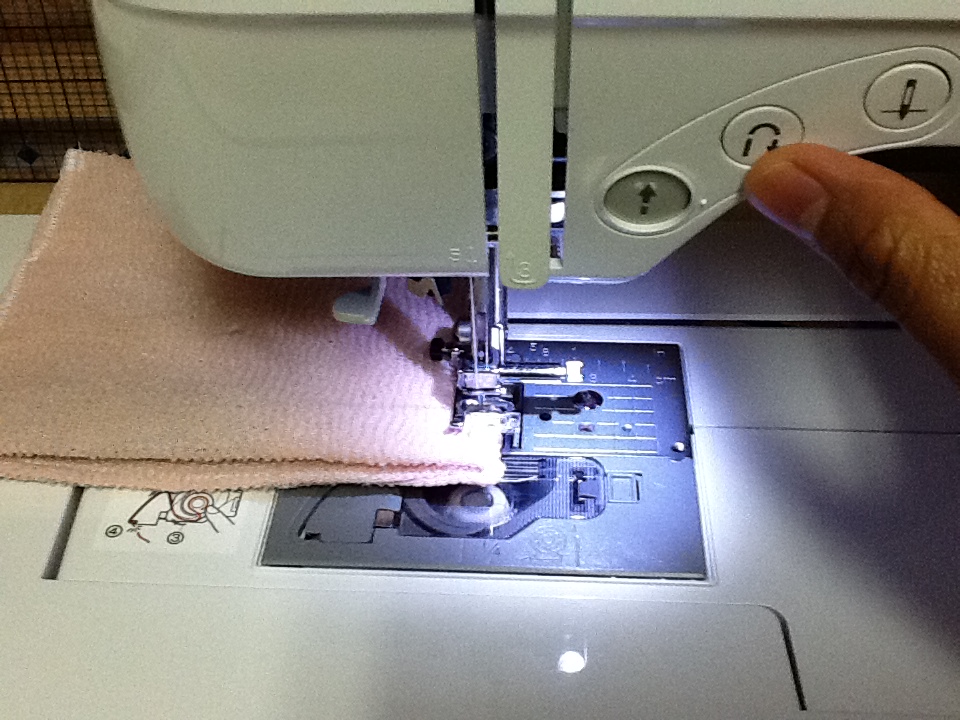
Working with one of the pieces, I folded it in half lengthwise, sewed up two of the open sides (I used a zig-zag stitch), turned the fabric inside out, then sewed the last side closed.

Don't forget to back stitch the beginning & ending of your stitches. Since this item will be used and washed a lot, you'll want to make sure that the stitches are really secure.
 Lay the fabric down with the long side towards you and fold one side in towards the middle about an inch or so. Then fold the opposite end in towards the fold you had made. It will overlap onto the one inch flap.
 Now is the time to pin your scrap piece of ribbon into position. It'll lay right under the one inch fold and place it sticking out a bit so you don't miss stitching it. Add more pins to hold the sides & sew the sides closed.
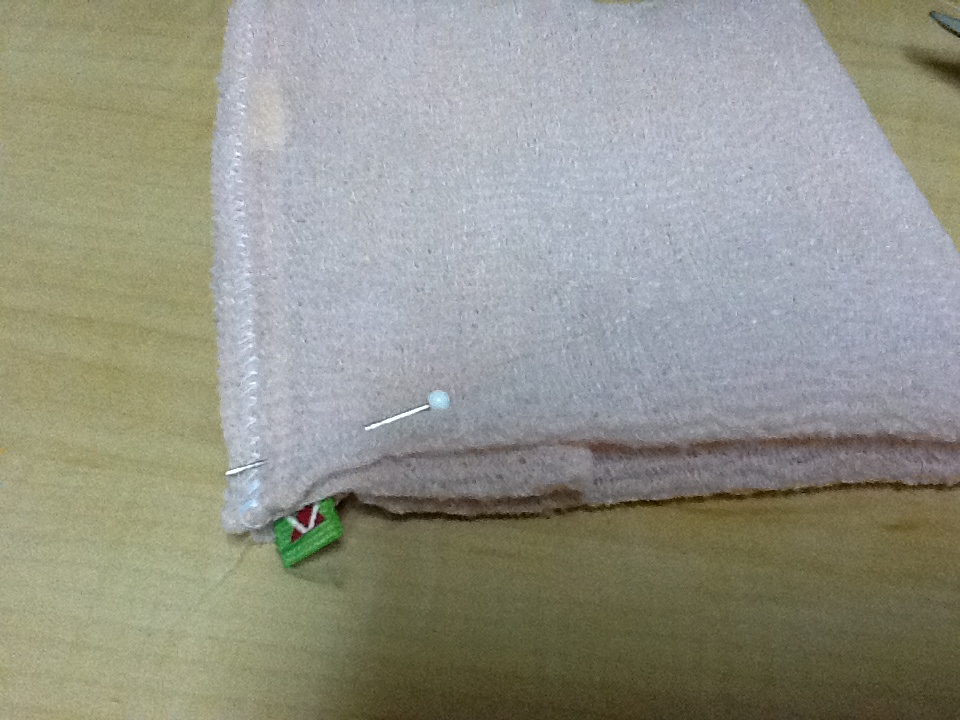
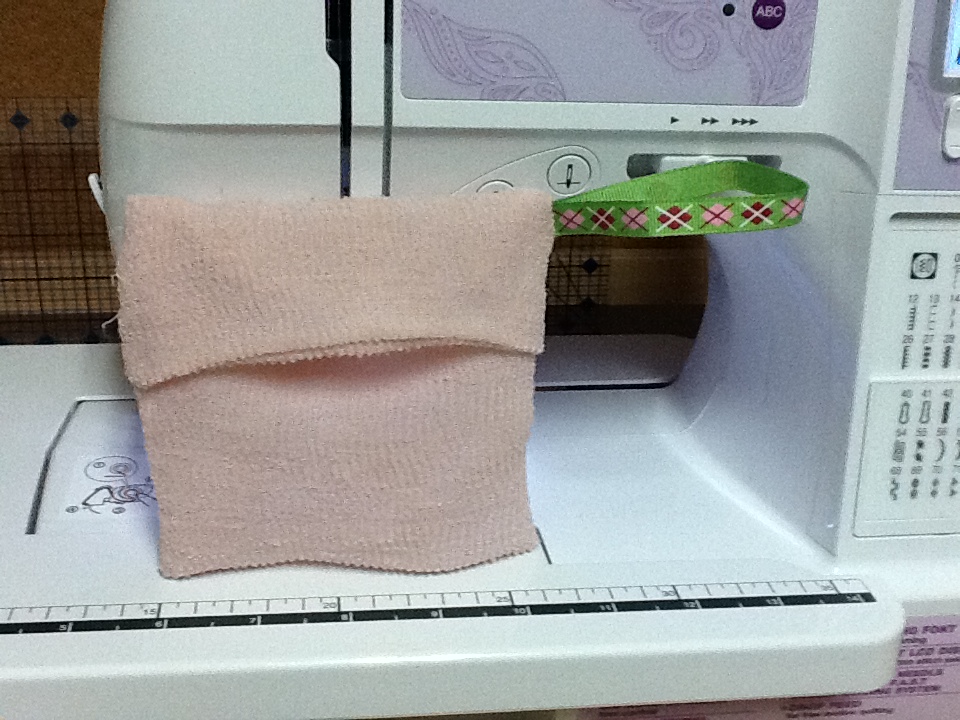 Once you have sewn the two sides closed you will turn your pouch right side out (take care to really push your corner points out. Use a pencil if you have to.) If you did it right, it'll look like this:

Alrighty y'all I hope I made this tutorial easy enough for you to follow. Feel free to leave me a comment of encouragement. I am not confident in my blogging tutorial ability.
No comments:
Post a Comment